CloudStack - Create Windows 11 VM instance on RHEL/RockyLinux/AlmaLinux
The article CloudStack - Create Windows 11 VM instance on Ubuntu 22.04 introduces how to create a VM with vTPM and UEFI on Ubuntu hosts. There are some changes with it, see CloudStack - Create Windows 11 VM instance on Ubuntu (Update 2025.03).
This blog introduces how to create Window 11 VMs on RHEL/RockyLinux/AlmaLinux step by step. Rocky 8.6 will be used as an example.
Please refer to the article CloudStack - Create Windows 11 VM instance on Ubuntu 22.04 on
- Minimum System Requirements of Windows 11
- Prerequisites: How to create Service offering, isolated network and egress rules.
- Register ISO for Windows 11 24H2
Step 1: Configure UEFI and TPM on Rocky8 host
Some packages need to be installed to support UEFI and TPM. See below
# rpm -qa | egrep "tpm|ovmf"
swtpm-0.7.0-4.20211109gitb79fd91.module+el8.9.0+90052+d3bf71d8.x86_64
swtpm-libs-0.7.0-4.20211109gitb79fd91.module+el8.9.0+90052+d3bf71d8.x86_64
tpm2-tools-4.1.1-5.el8.x86_64
edk2-ovmf-20220126gitbb1bba3d77-13.el8_10.4.noarch
swtpm-tools-0.7.0-4.20211109gitb79fd91.module+el8.9.0+90052+d3bf71d8.x86_64
tpm2-tss-2.3.2-6.el8.x86_64
libtpms-0.9.1-2.20211126git1ff6fe1f43.module+el8.9.0+90052+d3bf71d8.x86_64
The UEFI firmware files can be found at /usr/share/OVMF/. Please refer to UEFI boot and different OVMF firmware files
# ls -l /usr/share/OVMF/
total 0
lrwxrwxrwx. 1 root root 33 Dec 17 20:44 OVMF_CODE.secboot.fd -> ../edk2/ovmf/OVMF_CODE.secboot.fd
lrwxrwxrwx. 1 root root 25 Dec 17 20:44 OVMF_VARS.fd -> ../edk2/ovmf/OVMF_VARS.fd
lrwxrwxrwx. 1 root root 33 Dec 17 20:44 OVMF_VARS.secboot.fd -> ../edk2/ovmf/OVMF_VARS.secboot.fd
lrwxrwxrwx. 1 root root 26 Dec 17 20:44 UefiShell.iso -> ../edk2/ovmf/UefiShell.iso
Create a file /etc/cloudstack/agent/uefi.properties with content as below
guest.nvram.template.secure=/usr/share/edk2/ovmf/OVMF_VARS.secboot.fd
guest.nvram.template.legacy=/usr/share/edk2/ovmf/OVMF_VARS.fd
guest.nvram.path=/var/lib/libvirt/qemu/nvram/
guest.loader.secure=/usr/share/edk2/ovmf/OVMF_CODE.secboot.fd
guest.loader.legacy=/usr/share/edk2/ovmf/OVMF_CODE.cc.fd
Restarting cloudstack-agent to make it effective
# systemctl restart cloudstack-agent
Now Check the host details by cmk (aka cloudmonkey) on the CloudStack management server. The host should have the details "host.uefi.enable": "true" which indicate the host supports UEFI.
# cmk list hosts type=Routing | jq -r '.host[].details'
{
  "Host.OS": "Red Hat Enterprise Linux",
  "Host.OS.Kernel.Version": "5.4.17-2136.309.5.1.el8uek.x86_64",
  "Host.OS.Version": "8.6",
  "com.cloud.network.Networks.RouterPrivateIpStrategy": "HostLocal",
  "host.uefi.enable": "true",
  "secured": "true"
}
Step 2: Deploy Windows 11 VM instance
Go to Compute -> Instances, click “Add Instance”.
- In the “Template/ISO” section, click “ISOs” tab and choose the Windows 11 ISO.
- In the “Compute offering” section, choose a service offering with at least 4GB memory.
- In the “Disk size” section, choose a disk offering with at least 20GB disk or choose the “Custom” offering and specify a disk size (In GB).
- In the “Networks” section, choose the isolated network created, or a shared network.
- In the “Advanced mode” section, set “Boot type” to “UEFI”, set “Boot mode” to “SECURE”
- In the “Details” section, type a VM name and UNCHECK
Start Instance.
Step 3: Set guest CPU mode
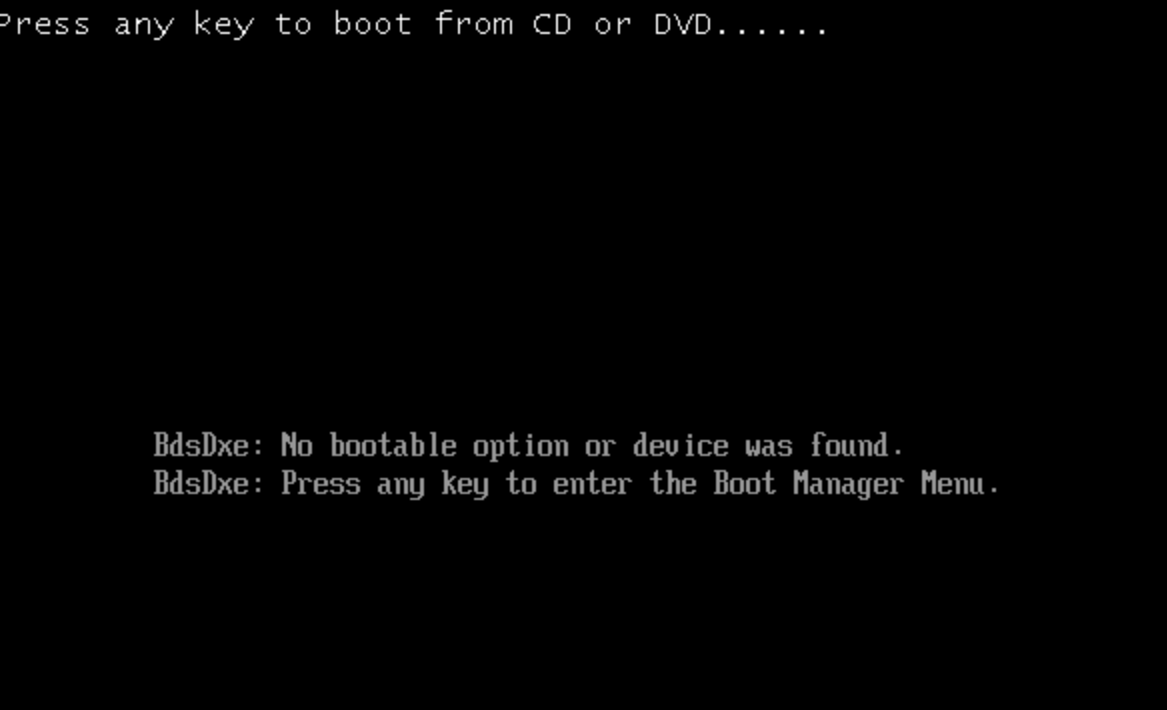
If we not start the virtual machine instance, we will face the issue “Bdsdxe: no bootable option or device was found”.

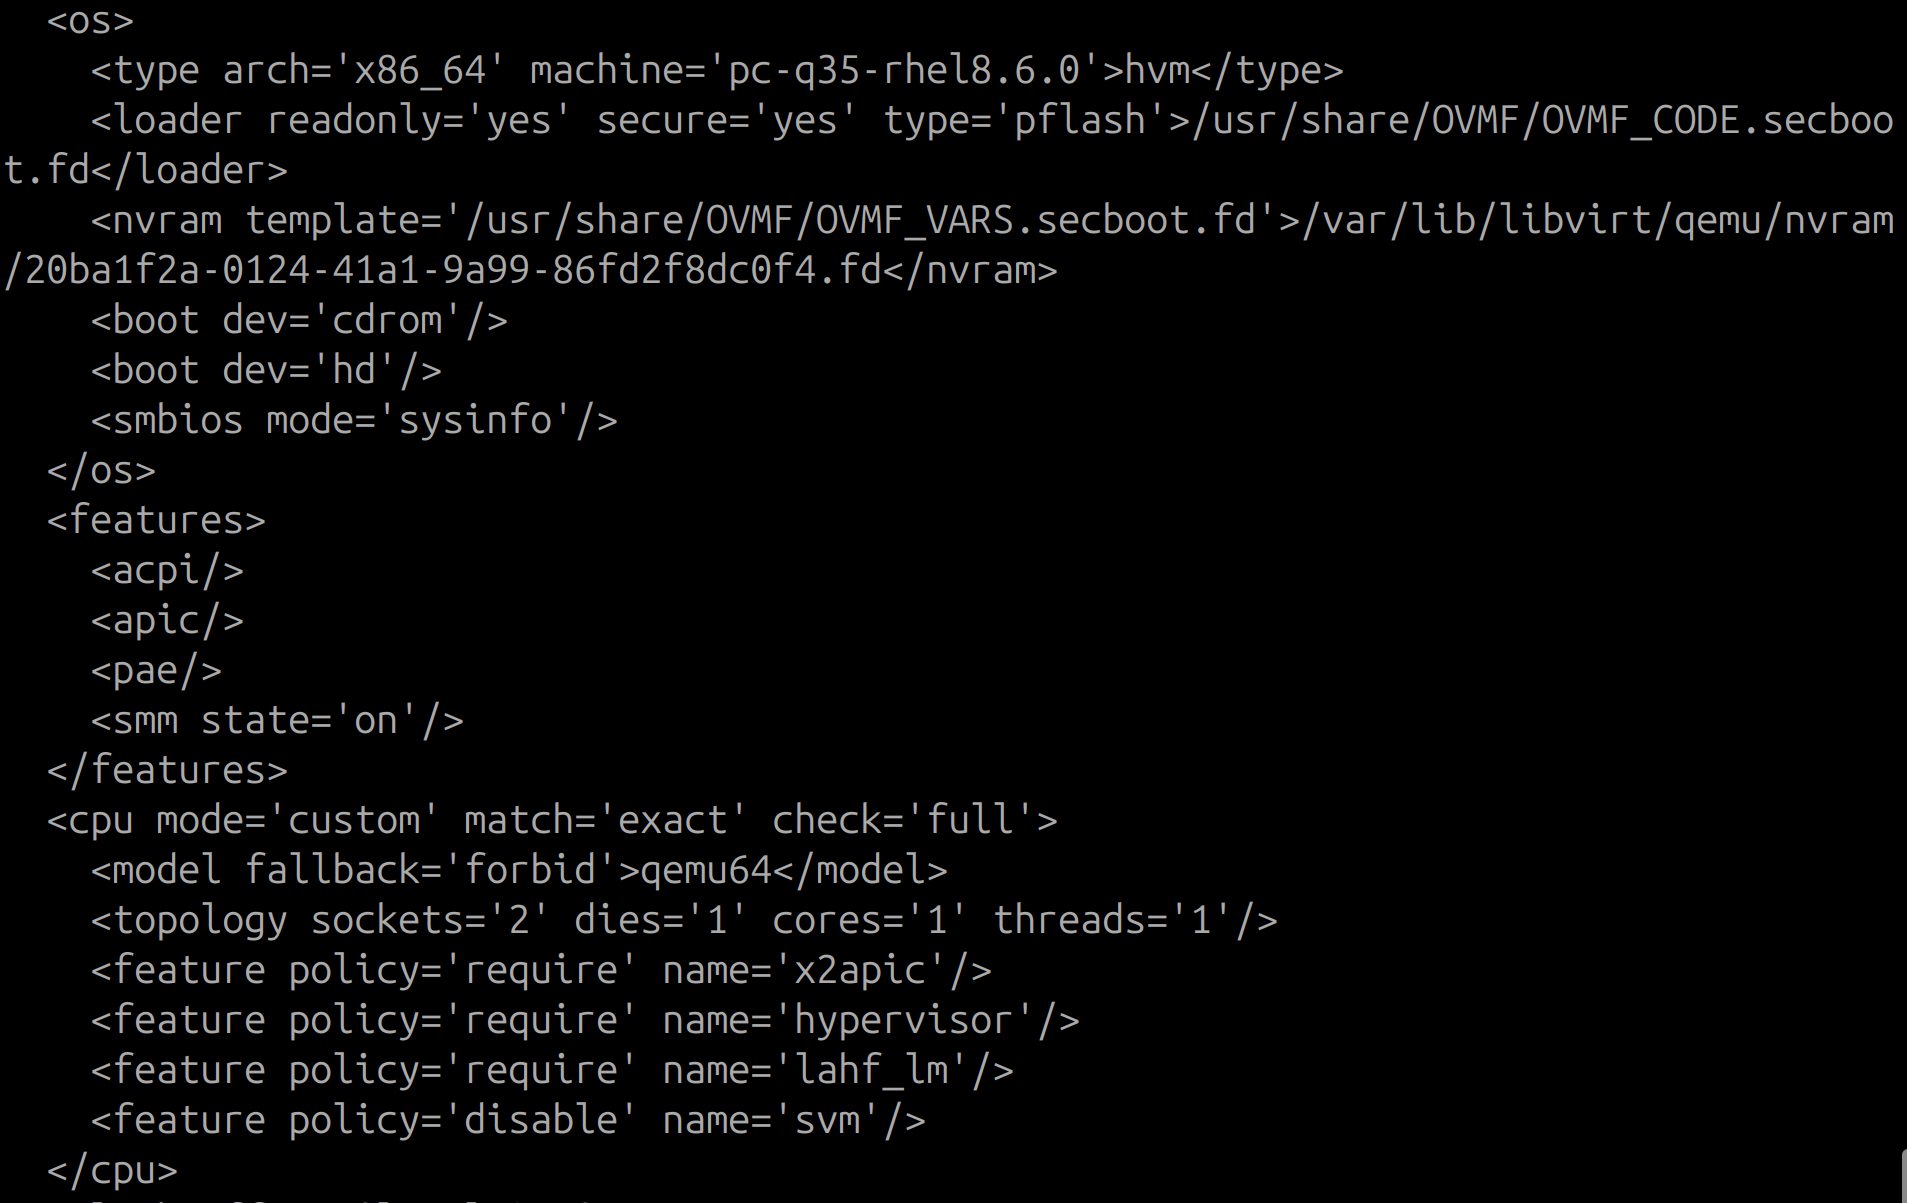
It is because the VM uses the default “qemu64” CPU, which is unsupported by Windows 11 24H2. To fix it, we need to use pass through the host CPU to the Windows VM.

Update the agent.properties and restart cloudstack-agent
guest.cpu.mode=host-passthrough
Stop and start the Window VM, check the vm definition again.

Step 4: Add extraconfig for Windows VM
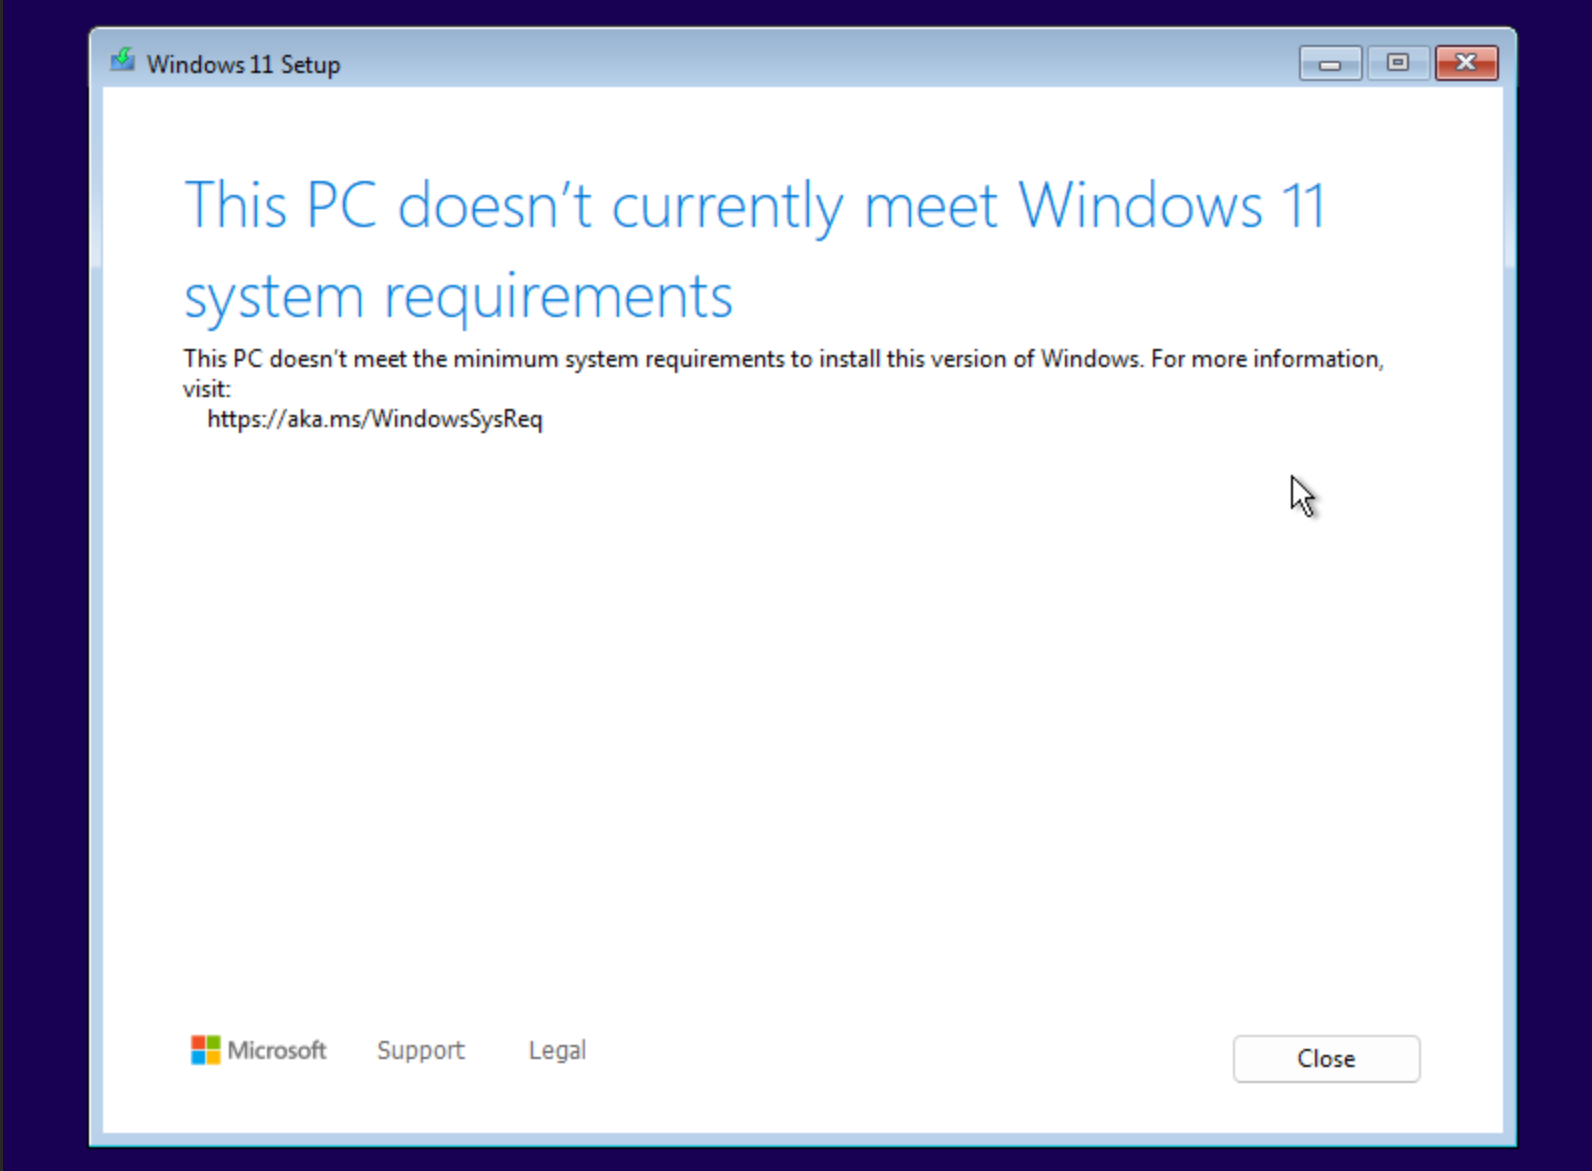
However, when install the Windows 11, we still face an issue that the PC does not meet Windows 11 system requirements.

This is because the TPM (Trusted Platform Module) is not configured. As mentioned in CloudStack - Create Windows 11 VM instance on Ubuntu (Update 2025.03), VM setting for TPM is not supported anymore.
We can add extraconfig via cloudmonkey
(localcloud) 🐱 > update configuration name=enable.additional.vm.configuration value=true
(localcloud) 🐱 > update configuration name=allow.additional.vm.configuration.list.kvm value="backend,tpm,devices"
(localcloud) 🐱 > update virtualmachine id=20ba1f2a-0124-41a1-9a99-86fd2f8dc0f4 extraconfig="<devices><tpm model='tpm-crb'> <backend type='emulator' version='2.0'/> </tpm></devices>"
We can use tpm-tis instead of tpm-crb.
Step 5: Verification
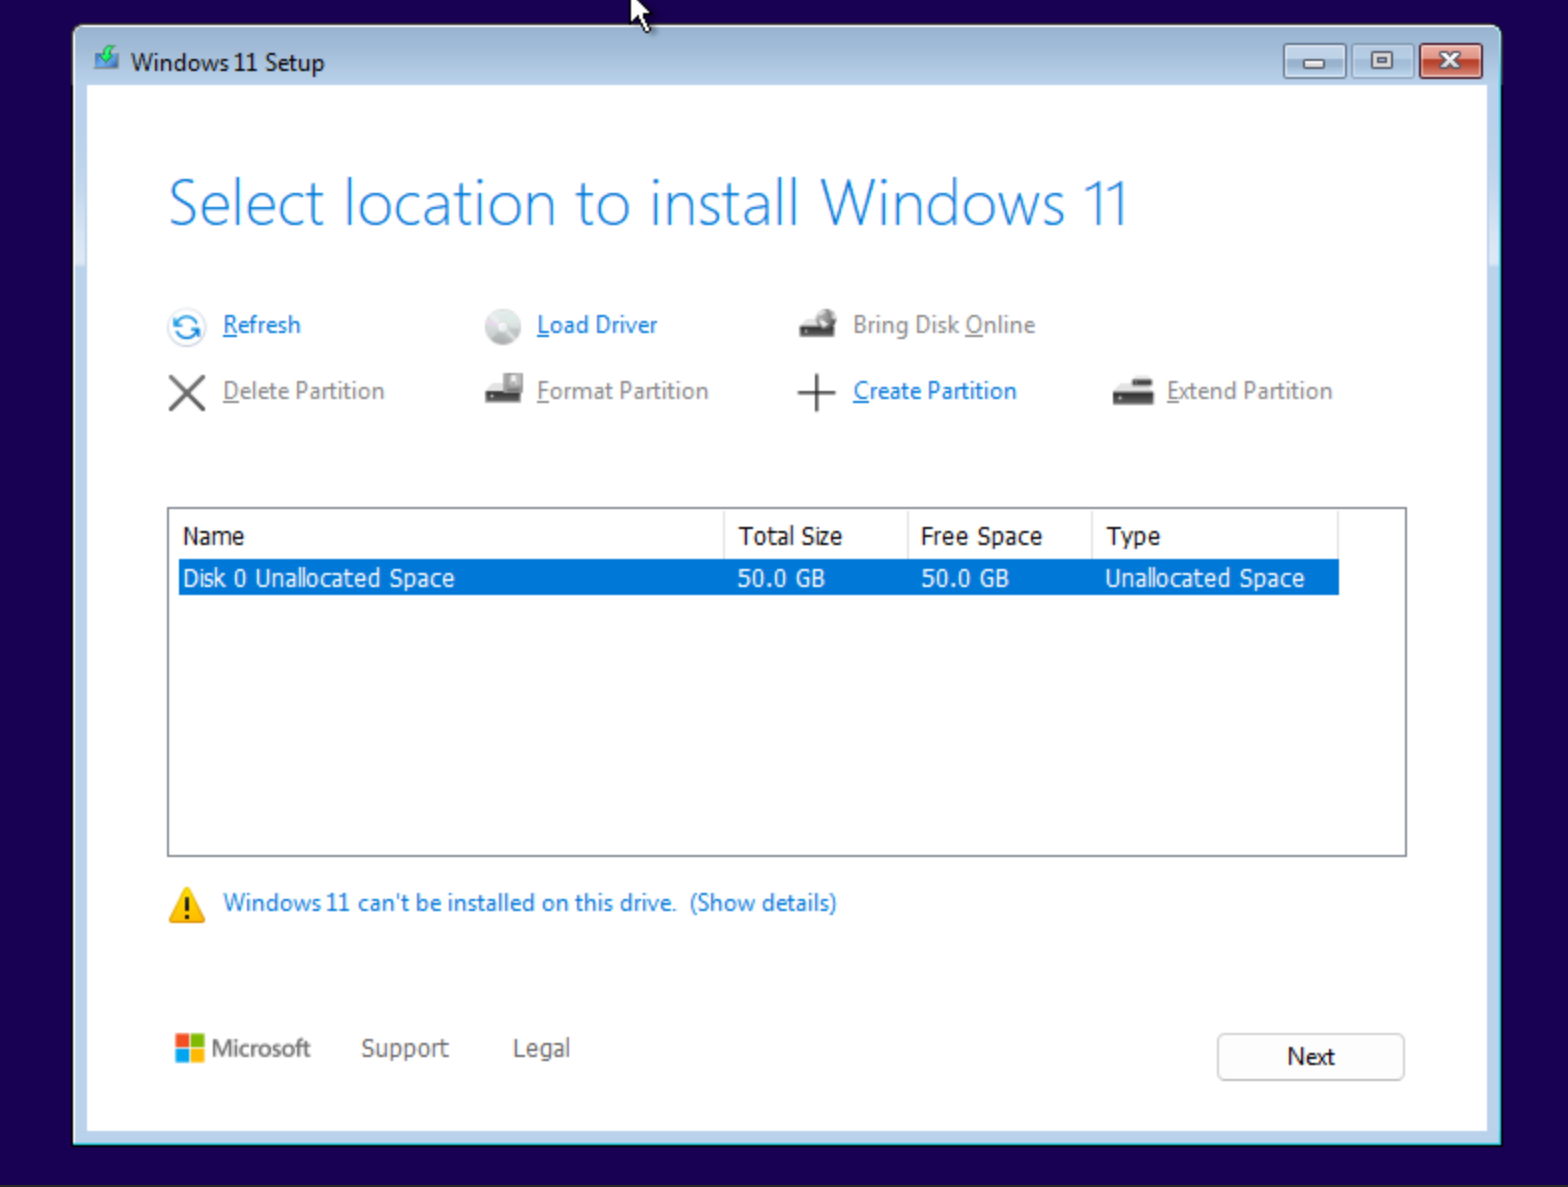
Start the VM instance, and open the console of the VM instance. Now we can install Windows 11 without the issue that the PC does not meet system requirements.

Log into the Ubuntu host, run virsh dumpxml --security-info <vm instance name> to get the XML definition. We can find the following configuration for TMP device:
    <tpm model='tpm-crb'>
      <backend type='emulator' version='2.0'/>
      <alias name='tpm0'/>
    </tpm>
It just works.
